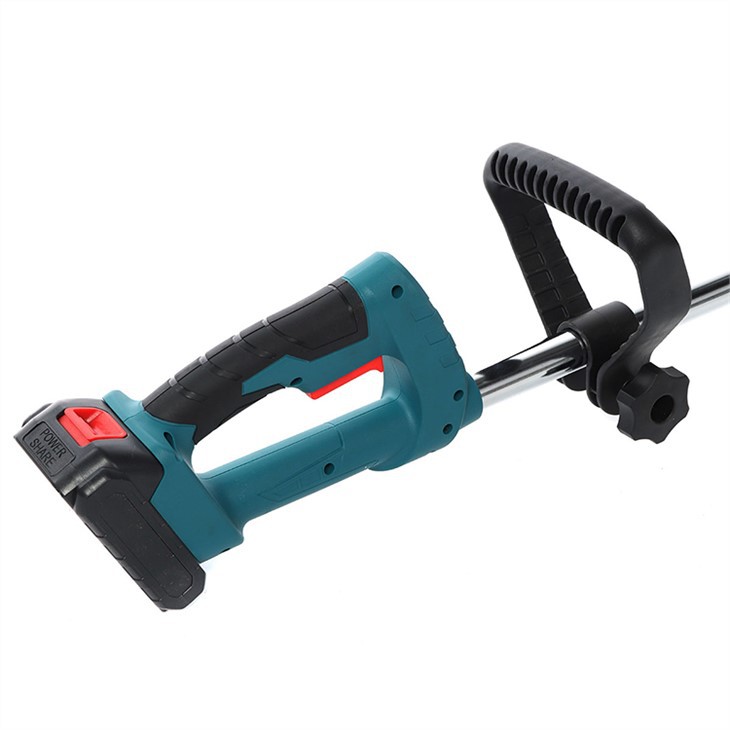
As a supplier of electric weeders, I've witnessed firsthand the growing popularity of these efficient gardening tools. Electric weeders offer a convenient and eco - friendly alternative to traditional gas - powered models. However, like any piece of equipment, they require proper maintenance to ensure optimal performance and a long lifespan. In this blog, I'll delve into the various types of maintenance that an electric weeder needs.
1. Cleaning
One of the most basic yet crucial maintenance tasks for an electric weeder is cleaning. After each use, it's essential to remove any debris, such as grass clippings, dirt, and leaves, from the tool. These materials can accumulate in the cutting blades, motor housing, and other parts of the weeder, potentially causing blockages and reducing efficiency.
For the cutting blades, use a brush or a cloth to wipe away the dirt. If there are stubborn residues, you can soak the blades in a mild detergent solution for a short period and then rinse them thoroughly. Make sure to dry the blades completely before reassembling the weeder.
The motor housing also needs attention. Use a soft brush to gently clean the vents and openings to prevent dust and debris from entering the motor. A clogged motor can overheat, leading to premature failure.
If you own a Portable Electric Miniature Weeder, cleaning is even more important due to its compact size. Any small blockage can have a significant impact on its performance.
2. Blade Maintenance
The cutting blades are the heart of an electric weeder. Regular blade maintenance is necessary to keep them sharp and in good condition. Dull blades not only make the weeding process more difficult but also put additional stress on the motor.
To sharpen the blades, you can use a file or a sharpening stone. Follow the manufacturer's instructions carefully, as different types of blades may require different sharpening techniques. It's important to maintain the correct angle while sharpening to ensure an even cut.
Inspect the blades regularly for signs of wear and tear, such as chips or cracks. If you notice any damage, replace the blades immediately. Using damaged blades can be dangerous and may also cause uneven cutting.
For Cordless Grass Trimmer, the string trimmer head also needs attention. Check the string regularly and replace it when it becomes too short or frayed.
3. Battery Care (for Cordless Models)
If you have a cordless electric weeder, proper battery care is essential. Batteries are a significant investment, and taking good care of them can extend their lifespan.
First, make sure to charge the battery according to the manufacturer's instructions. Overcharging or undercharging can reduce the battery's capacity over time. Most modern cordless weeders come with a smart charger that automatically stops charging when the battery is full.
Store the battery in a cool, dry place. Extreme temperatures can damage the battery. If you're not going to use the weeder for an extended period, store the battery at around 50% charge. This helps to maintain the battery's health.
Regularly check the battery terminals for corrosion. If you notice any corrosion, clean the terminals with a mixture of baking soda and water. Use a soft brush to gently scrub the terminals, and then rinse them with clean water and dry them thoroughly.
4. Cord Maintenance (for Corded Models)
For corded electric weeders, the power cord is a critical component. Inspect the cord regularly for any signs of damage, such as cuts, frays, or exposed wires. A damaged cord can be a safety hazard, so if you find any issues, replace the cord immediately.
When using the weeder, be careful not to pull or tug on the cord forcefully. Avoid running over the cord with the weeder or other equipment. If possible, use a cord protector to prevent damage.
5. Lubrication
Some parts of an electric weeder may require lubrication to ensure smooth operation. Check the manufacturer's manual to see which parts need lubrication and what type of lubricant to use.
For example, the moving parts of the cutting mechanism may need lubrication. Apply a small amount of lubricant to the pivot points and gears. Be careful not to over - lubricate, as excess lubricant can attract dirt and debris.


6. Storage
Proper storage is also an important part of electric weeder maintenance. When you're not using the weeder, store it in a dry, protected place. If possible, hang the weeder on a wall or store it in a toolbox to prevent it from being damaged.
For cordless models, remove the battery before storage. This helps to prevent self - discharge and extends the battery's lifespan.
If you own an Electric Lawn Mower, make sure to clean it thoroughly before storage. You may also want to cover it with a protective cover to keep it clean and dry.
7. Regular Inspections
In addition to the specific maintenance tasks mentioned above, it's a good idea to perform regular inspections of your electric weeder. Check all the parts, including the housing, switches, and controls, for any signs of damage or malfunction.
Listen to the weeder while it's running. Any unusual noises, such as grinding or rattling, could indicate a problem. If you notice any issues, stop using the weeder immediately and have it inspected by a professional.
By following these maintenance tips, you can ensure that your electric weeder performs at its best for years to come. Whether you're a professional gardener or a homeowner looking to keep your lawn and garden in top shape, a well - maintained electric weeder is an invaluable tool.
If you're interested in purchasing high - quality electric weeders or have any questions about maintenance, feel free to reach out to us. We're here to help you make the most of your gardening experience.
References
- Gardening Tool Maintenance Guides from various manufacturers
- Online resources on electric tool maintenance
